
Imagine the following: You’re scowling down at this burnt scrap of material in your hand, thinking, How could this go so wrong? Little did you know that crispy edges are the tip of the iceberg when discussing laser cut quality.
Laser edge quality varies greatly depending on the type of material, speed, and power at which it is cut.
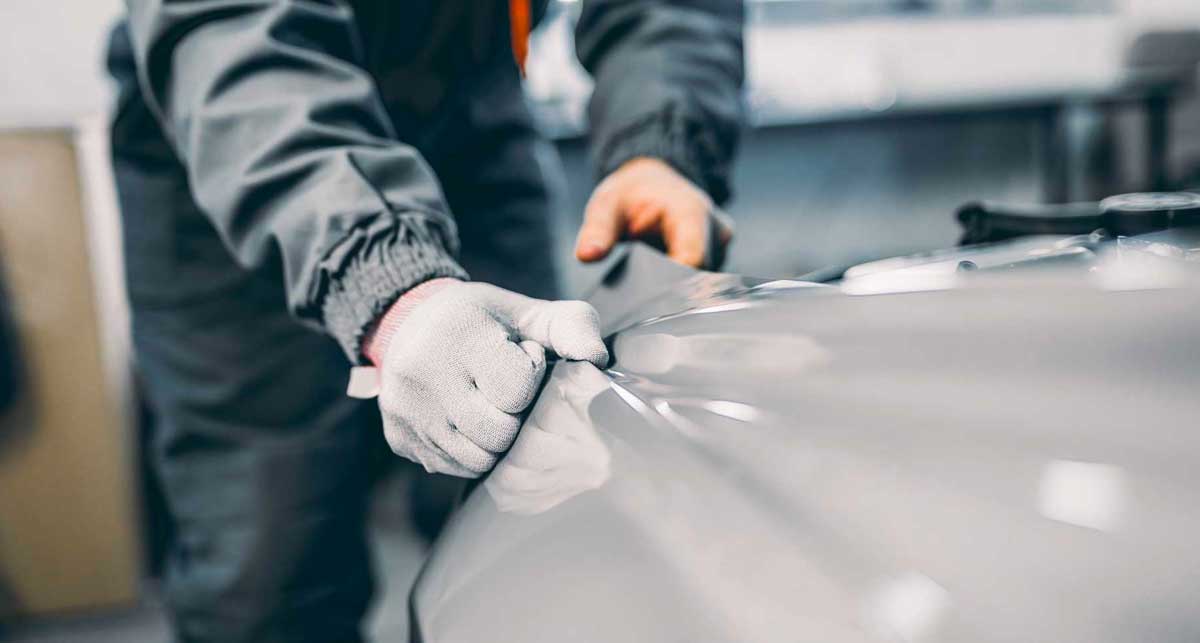
Strouse uses laser cutting in both full-scale production and design prototyping services. Over the years, we’ve noticed that customers often have different expectations regarding laser cut quality.
To help you understand what to expect in your laser cutting project, we’ll explain what affects laser cut edge quality and how to prepare for it.
What Does Quality Laser Cutting Look Like?
Laser quality is relative to your needs. A straight cut that looks excellent on the surface may have jagged edges under the microscope, and depending on your use case, this may or may not be acceptable.
Adjusting the speed and power of the laser can change the outcome of its edge quality, yet, the results will still be highly dependent on the material type, material thickness, and tolerances.
It’s also important to note what type of laser you are testing. Converters like Strouse use a CO2 laser to cut flexible materials to precise tolerances. However, there are more specialized lasers that might be a better fit for certain applications.
Oftentimes, prototyping is done on a smaller tabletop laser with relatively low wattage. The edge conditions you’ll get with this type of laser vs. a high powered production laser are significantly worse. If you are using a tabletop laser to judge your edge condition on production quality parts, you might not be getting a clear picture of your actual edge conditions.
When working with a converter, it’s crucial to specify your design’s goals and edge quality requirements to achieve a favorable result. If laser isn’t ideal for your project, you may want to consider digital knife prototyping or another cutting method.

Common Laser Cutting Quality Concerns
Which is more likely to create debris: cutting tape with a pair of scissors or blasting it with a CO2 laser? If you said hitting it with the laser, ding ding ding! You are correct.
1. ROUGH EDGES
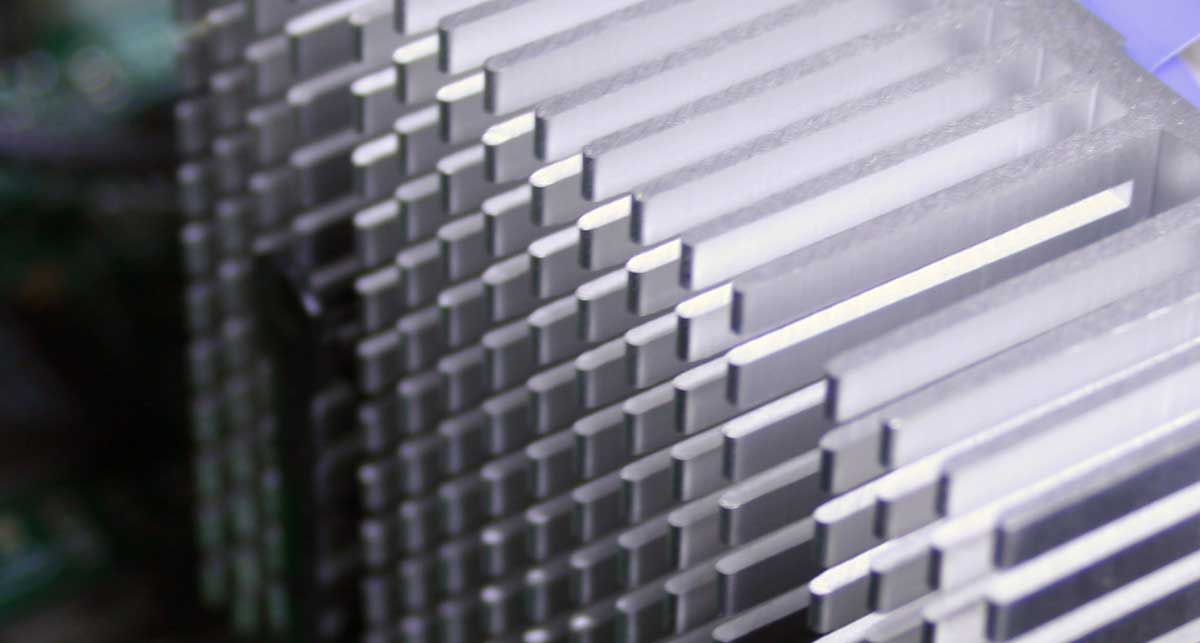
A CO2 laser cuts material using energy pulses, creating a much rougher edge than a blade (as seen on a microscope). The laser brushes the edges, creating a “heat-affected zone” where the laser impacts and melts the material.
This is a common laser cutting phenomenon that may be difficult to spot with the naked eye. However, depending on your application, this could be a crucial concern for your project. Below is an example of an laser cut acrylic part under magnification.

As you can see, when you start to look under the microscope, there are little hills and valleys that go along the edge.
2. MELTED LAYERS
A laser can melt layers and edges together, making it challenging to separate them. This could affect the functionality of your adhesive parts. For example, a melted liner might cling to an adhesive component, making it impossible to peel off as intended.

Above, you can see that the adhesive material has melted into the liner, making it difficult to remove.
3. START AND STOP MARKS
When the laser hits a material, it can sometimes create an abnormal burn, gap, or hole in the part where it began ablating.

4. SCORCH MARKS
Scorch, char, or burn marks will harm the part’s aesthetic qualities and potentially affect its functionality in the case of optically clear adhesives.
How Do Laser and Die Cutting Differ?
- Die cutting requires the purchase of a steel tool
- Laser cutting is more accurate and can produce tighter tolerances
- Die cutting is faster and more efficient at higher quantities
- Laser cutting may produce jagged, melted, or burned edges
Laser cutting uses a beam to slice through material, while die cutting requires a steel tool to punch out shapes.
Laser cutting is a more accurate technique than die cutting, and can achieve more precise, tighter tolerances. It also does not require the purchase of additional tooling, such as a die cut tool. However, it is far slower than die cutting, making it cost-inefficient for higher qualities, and may also ablate the material, causing burnt or ragged edges that can lead to aesthetic concerns.
Setting Your Laser Cutting Expectations
Laser cutting is known for having messier edges than rotary or flat bed die cutting, but the range of what’s considered acceptable will vary by project.
Certain materials are more challenging to laser cut while retaining high quality or aesthetics, such as polyimide, which often leaves brown soot marks and cuts “dirtier” by laser.
If you’re searching for clean, aesthetically pleasing parts, laser cutting may not be your best option. However, if you’ve measured your expectations around the possibility of charred edges and other quality concerns resulting from the laser cutting process, then you’re ready to dive in.

Testing prototypes is a crucial step in your product development process. Using our CO2 laser, Strouse’s engineers will cut a rapid prototype out of your material and send it over ASAP.
If you’re ready to try different combinations of designs and materials and see how your part performs, request a sample today.
To read more about the laser cutting process, consider checking out our Capabilities page. Lastly, here are a couple of additional resources that you may find helpful: