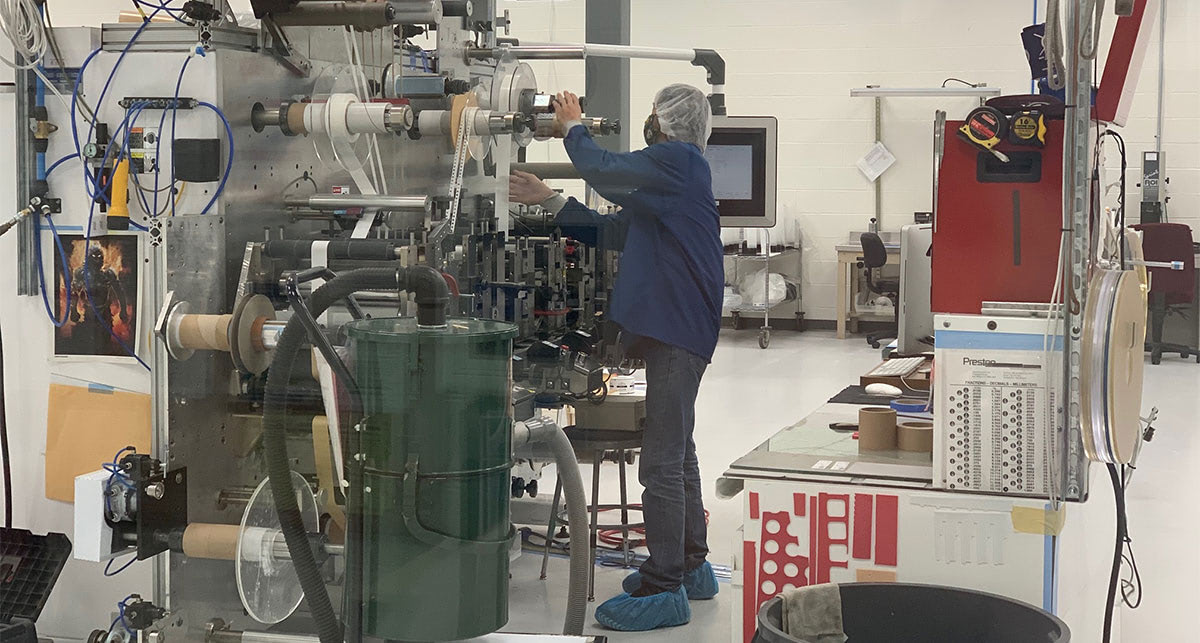
You’ve got a pristine roll of VHB tape clutched in your hand, but how do you apply it correctly? Luckily, each 3M VHB tape has clear application instructions depending on your substrates and environment.
The engineering process at Strouse isn’t over until your adhesive can be applied effectively. Having worked with 3M VHB for decades, we have the knowledge to teach you the most useful VHB bonding techniques.
Let’s review how to properly prepare surfaces and consider the environment before applying VHB tape.
How To Apply 3M VHB Tape
If you’re here, then you’re probably wondering, “How do I use 3M VHB tape?”
Unlike slapping on a line of duct tape, applying VHB acrylic foam involves high precision because it varies depending on the substrates to which the tape is applied.
These 3M VHB tape instructions will explain how to prepare for different situations and demonstrate what to consider when planning your application method.
STEP #1: SURFACE PREPARATION– CLEANING
Any adhesive bonds better if the substrate surface is clean, saving time and problems down the road. Use a disposable towel or cloth and one of two solvents: 1) isopropyl alcohol solution (70% IPA, 30% water) for dust, dirt, and fingerprints; or 2) acetone for oily surfaces.
- Heavy Oils: Use a degreaser to remove heavy oil/grease from a surface.
- Porous surfaces: Porous and fibered materials, including wood, particleboard, and concrete, must be sealed to provide a unified surface.
- Unique Materials: Special surface preparation is needed for glass, copper, and plastics or rubber that contain components that migrate (e.g. plasticizers).
Steps:
- If there are tough spots, quickly pre-clean these
- Remove contaminants with a wet towel/cloth
- Wipe with a dry towel/cloth
All of the above cleaning prep work must be followed by cleaning with IPA/Water. For additional reading on surface prep, look up the 3M Technical Bulletin “Surface Preparation for 3M™ VHB™ Tape Applications” (70-0704-8701-5).
STEP #2: SURFACE PREPARATION– PRIMING
In certain situations, priming and abrading (see below) can improve how the adhesive sticks to specific substrates: plastics, paints, and substrates with low surface energy. Simply put, the primer creates a new surface to improve adhesion.
Steps:
- Depending on the substrate, apply primer to the clean surface using:
- a disposable towel followed by a dry towel
- a dauber bottle followed by a dry towel
- a foam brush
- Let dry before taping
STEP #3: SURFACE PREPARATION– ABRADING
Abrasion is commonly used on surfaces with heavy dirt or oxides to create additional surface area or smooth a textured surface for improved contact.
Ultra-small circular abrading motion is more desirable than straight-line motion. The bond's strength will improve since the micro-scratches increase the surface area used for bonding. Palm or dual-action sanders (like the 3M Scotch-Brite hand pads) can help with large surface areas. Be careful not to grind the surface with coarse materials, or they will create too much texture for the adhesive to flow into the surface adequately.
After abrading the surface, clean the substrate with the IPA/water solution. The exceptions to these abrading guidelines are 3M VHB tapes 4932 and 4952, which perform best on smooth surfaces.
Steps:
- Determine the abrasion needed:
- for light abrasion, use a hand pad or an L-abrader tool
- for powered abrasion, use a right-angle grinder or dual-action sander with a coated abrasive
- Clean the substrate after abrading with all debris removed from the bond area
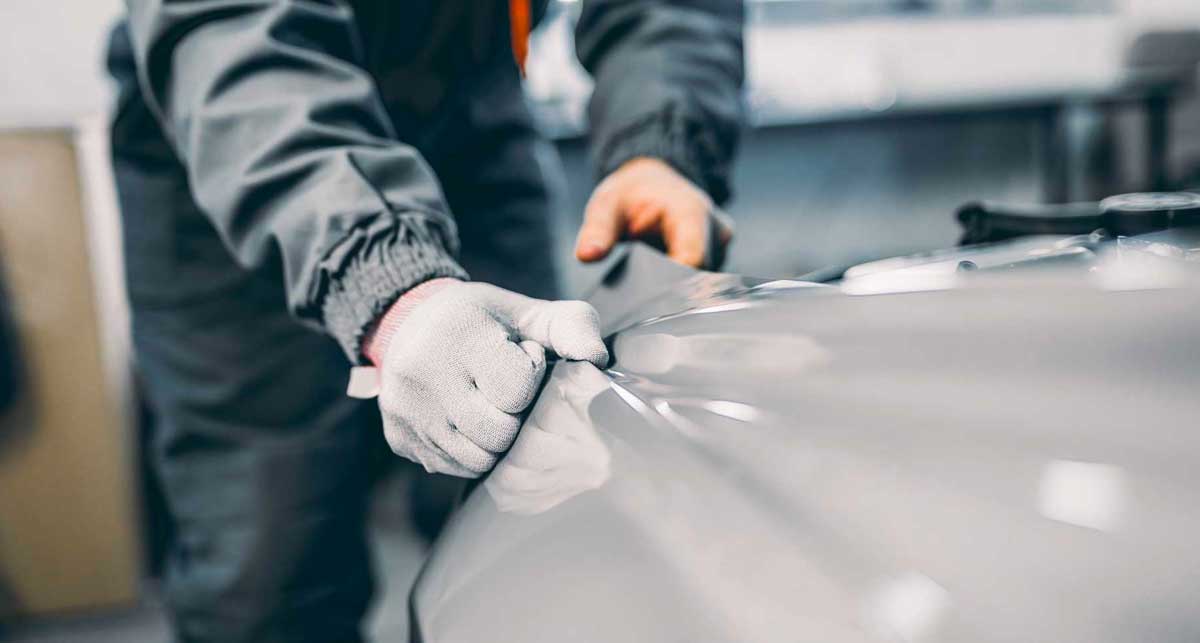
STEP #4: MANUAL SURFACE APPLICATION
Consider your specific application and production volume to determine the best application method for your situation. Then, use the right adhesive tape application equipment.
Steps (by HAND):
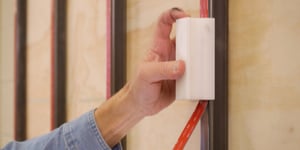
- Place the tape at the edge of the surface, applying constant pressure (at least 15 lbs) as you lay it down to ensure good contact
- Remove the protective liner
Steps (by HAND TAPE APPLICATOR):
- Same steps as above, but a handheld applicator is used instead of bare hands
Steps (by PUSH-THROUGH LAMINATOR):
- Push substrate pieces through the laminator
- Laminator applies tape and pressure
- Manually cut the tape between pieces
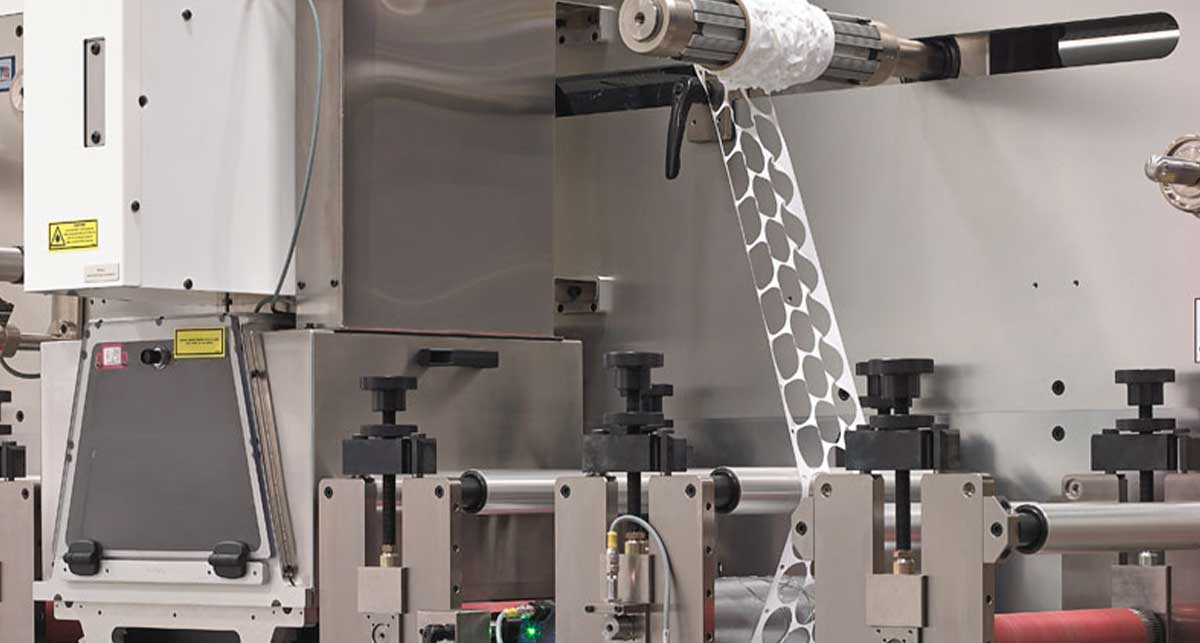
STEP #4½: AUTOMATED TAPE APPLICATION
There are two levels of automated applications:
- Linear application: A machine tapes pieces that pass on a conveyor
- Complex applications: A robot arm applies the tape in multiple locations on every piece, including die cut pieces and tape strips.
Automated tape applications are often planned as a part of the initial pre-production process, even as far back as the design phase, so if you want to know more, you can read about the different types of automation and decide which suits your project.
 STEP #5: APPLYING FINAL PRESSURE
Bond strength depends on the amount of adhesive-to-surface contact developed. Firm application pressure creates better adhesive connection and helps improve bond strength.
Typically, good surface contact can be achieved by applying enough pressure to ensure the tape experiences approximately 15 psi (100 kPa). Applying pressure greater than 15 psi across the width of the tape is required to achieve optimal “wet-out” or acceptable contact. A handheld roller, platen pressure, or J-roller can do the job.
Note that rigid surfaces may require 2 or 3 times more pressure to make the tape experience 15 psi.
If you’re wondering how to use 3M double sided tape for VHB, follow the same instructions up until this point except prepare both surfaces and carefully peel away the second liner before applying your second substrate.
STEP #6 (optional): VHB TAPE REMOVAL
You may have to remove 3M VHB tape from a substrate because of an application error or repair.
Steps:
- Apply isopropyl alcohol to the bond’s edge; this lubricates the cutting tool and prevents the rebonding of separated tape
- Using an oscillating tool, cut the tape ⅛” to ¼” deep at each pass
- Once components are separated, tape residue can be removed using the oscillating tool
- Use adhesive remover for any remaining residue: spray it on, let it soak, scrub with a hand pad, remove residue, and wipe clean with a towel or cloth
Following these tips will allow you to use most VHBs properly. However, understanding further application process specifics will increase the chances of your tape adhering well and ensure its adhesive bond lasts longer.
What Should I Know About Applying VHB Tape?
In addition to the application requirements and surface preparations, other factors to consider include the VHB application temperature, bonding time, adhesion to substrates, and storage and shelf life.
a. VHB APPLICATION TEMPERATURE
The ideal application temperature range is 70°F to 100°F (21°C to 38°C). Since pressure-sensitive adhesives use viscous flow to achieve substrate contact area, the minimum suggested application temperature for the 3M VHB tape 5952 family is 50°F (10°C). Check each tape’s specifications for the actual minimum temperature.
b. BONDING TIME
During the wet-out period, where the adhesive flows into the textured surface of the substrate, the bond strength will increase. Based on room temperature, 50% of the bond strength will be achieved in 20 minutes. The strength will increase to 90% after 24 hours. It typically takes 72 hours to reach 100% strength.
This period can speed up with warmer temperatures and slow with cooler temperatures. When the wet-out process is in progress, exposure of the substrates to 150°F (66°C) for one hour can increase the bond strength. Abrasion and primers can also increase the bond strength.
c. ADHESION TO SUBSTRATES
Adhesion is determined by the adhesive’s flow onto the substrate. Another factor is the amount of tape to the weight/size of the substrate.
For instance, a general rule for the 5952 tape holding static stresses is using about four square inches of tape for each pound of the substrate (57 cm² of tape per kg). Bond flexibility is beneficial with the 5952 tape unless additional stiffness is required. If not, then this tape can replace any mechanical fasteners.
A good estimate formula for dynamic stresses or loads in general applications is 12 lbs./in.2 (85 kPa).
When it comes to thermal expansion/contraction, assuming good adhesion to the substrates, the tapes can tolerate differential movement up to 3 times their thickness.
d. STORAGE AND SHELF LIFE
All 3M VHB tapes have a shelf life of 24 months from the date of manufacturing. This schedule is true when the tape is stored at 40°F to 100°F (4°C to 38°C) with 0-95% relative humidity. The optimum storage conditions are 72°F (22°C) and 50% relative humidity.
Your adhesive shelf life will depend on the VHB you choose, so double-check with your datasheet or manufacturer when shelf life is critical to your project to ensure your tape or adhesive product is ready when you need it.
Source the Right Tape For Your Application
3M VHB tape has become the go-to permanent bonding solution for applications in every industry. Yet, different variations will suit each individual project's needs.

If you want the best match for your project, you’ll want to select a VHB tape based on your design, industry, and ultimate project goal. This will enable you to plan around the material’s specific application guidelines until you can build your idealized, optimized manufacturing process.
An experienced converter like Strouse can help you choose the best material for your project and application needs. Request a sample today or explore our 3M VHB tape selection guide to find the best solution for you.
Originally published: April 28, 2021